By Model Manager, Paulina Grenda
Every model maker has their preferred set of tools and techniques, and some are more elaborate than others. In this post, I’ll be keeping things simple and taking a look at the most fundamental tools that I like to have handy in my toolbox at all times.
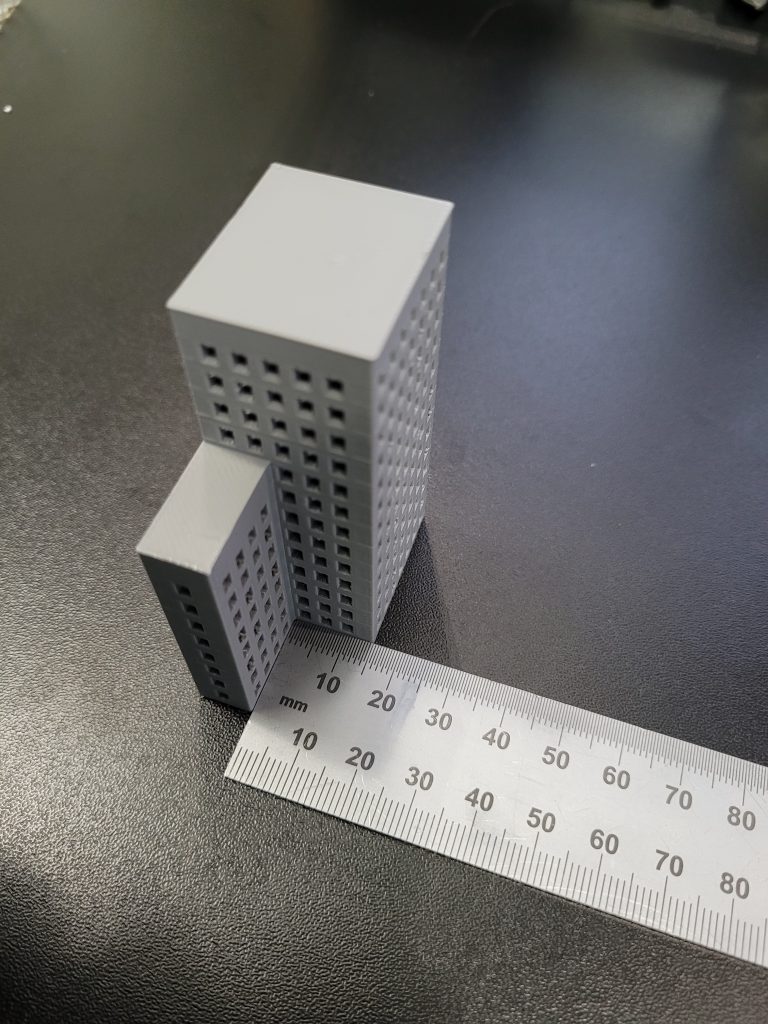
Metric Metal Ruler
When working with scaled models, nine out of ten times you’ll be working in millimetres (mm) so it’s best to get a metric ruler.
There are a few things I insist on when picking a ruler:
- It must be metal. Metal rulers are more durable; when cutting with a scalpel you won’t cut into it, as could be the case with a plastic ruler.
- There’s no gap at either end before the ruler actually begins, or at least before 0. This means you can place it against parts of the model and get a correct measurement.
- It’s double-sided and also shows half millimetres. With those rulers, the millimetres are at the top and the half millimetres are marked on the bottom. If the ruler is double-sided it means that you can just flip it and get a more accurate reading when measuring.
- Smaller rulers (150mm) with the above characteristics are also great to have as a regular 300mm might not always fit within the space you’re trying to measure.

Callipers
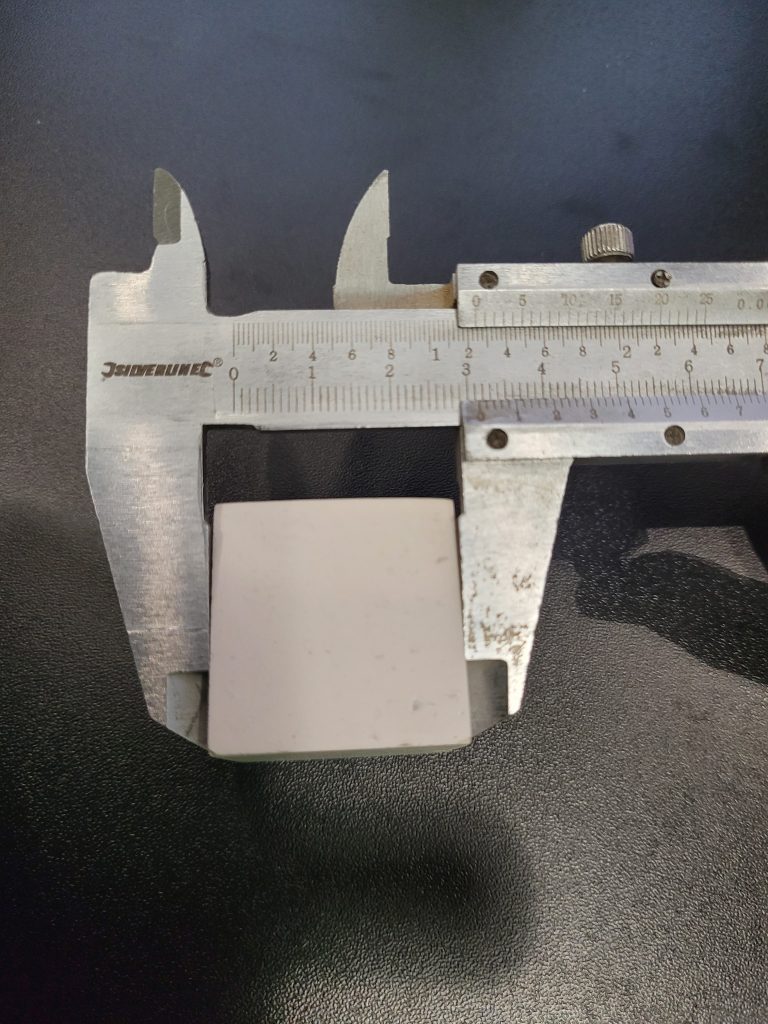
Similarly to rulers, callipers are instruments used to measure the dimension of an object, more precisely the inside, outside, depth, and step.
While there are different types of callipers, the most commonly used variety in the model making industry are vernier and electronic callipers. The main difference is that electronic callipers have a digital display that measures the distance for you, and with vernier callipers, it’s all manual and analogue.
There is some debate within the model making community as to which is better. Personally, I prefer vernier callipers as they don’t require batteries and you don’t have to be as careful with them. Electronic callipers are quite delicate and can be damaged if they’re not in their own box when put away.

Precision Blocks
Precision blocks are usually used on milling machines, but model makers have historically had to be very adaptive and make use of tools and machinery available from other industries.
Precision blocks usually come in two sizes, 1-2-3 and 2-4-6. Both are very useful, especially in architectural model making when trying to glue things together straight or at a right angle. They also double great as a weight when glueing things together.
10A Scalpel Blades
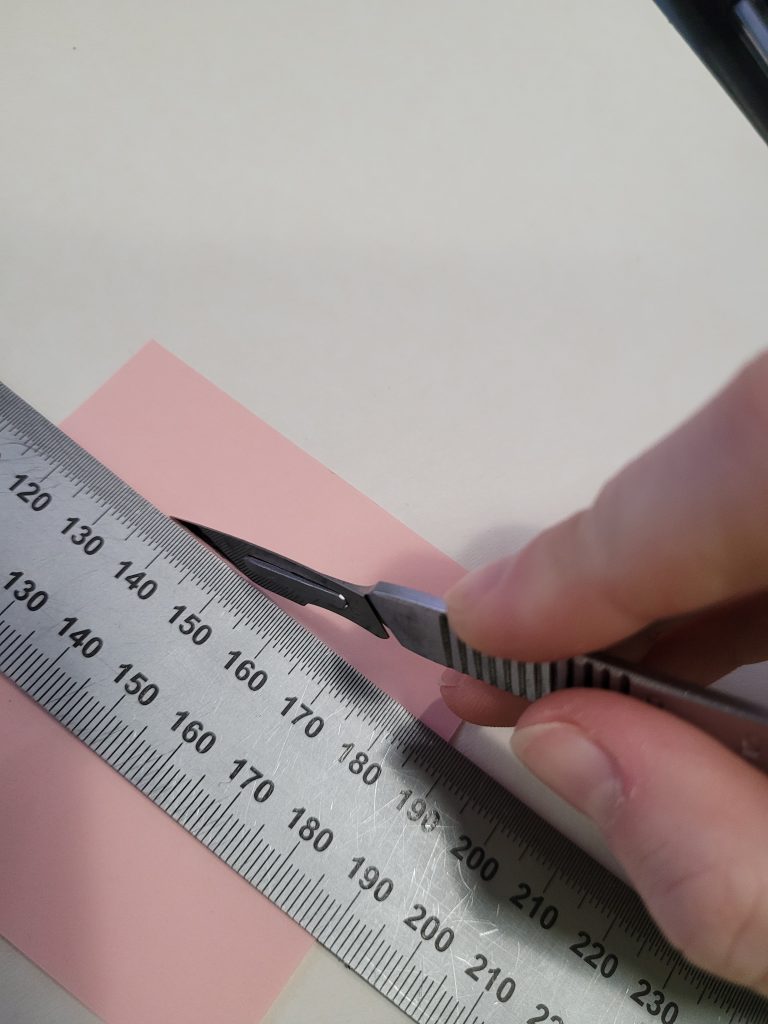
Buying scalpel blades can be a little overwhelming. There are so many options, and knowing which ones are right can be a challenge. From experience, I would recommend using ‘10A blades’ with ‘scalpel handle no.3’; combined, they make for a scalpel that is easy to control and dexterous.
Use a self-healing cutting mat to extend the life of your blades, but remember to change them regularly, especially when cutting foam board to ensure clean and accurate cuts. These blades can be a little tricky to take off, so you may want to get a scalpel blade remover unit that not only removes the blades but also stores them for safety.

Multi Angle Cutter/Chopper
This tool is particularly useful for repetitive work and when you need multiples of the same angle or length. It makes clean, neat, feather-free, and accurate cuts, great for cutting styrene strips, thin wooden extrusion, and rods.
Some tools may be pricy, and while amazing models can be made with regular store-bought equipment, I’ve learned that sometimes it’s worth investing in the more expensive tools. You can build your toolbox over time as your budget allows, but the higher-quality tools will last longer and, ultimately, help you produce a higher-quality model.

